WE Bike NYC is organizing ten women from five organizations to ride 262 miles on bicycles from New York City to Washington, DC to represent their communities at the nation’s largest annual bicycle advocacy event, the National Bike Summit on March 3, 2014. WE are so pleased to be supported by WomanTours, Bicycle Times Magazine and Transportation Alternatives. For more about the ride, check out our fundraising page HERE! Now that you have gotten to know who we are, learn more about us and our process. WE will be rolling out a series of guest posts from our riders and sponsors. Liz Jose, founder of WE Bike NYC, and the participants of Mujeres en Movimiento talk about the importance of knowing your bike mechanics.
One of the most important things about riding a bike, in my opinion, is knowing how to fix a flat tire. It doesn’t matter if you are going to get groceries up the block or biking all the way to Washington DC, being able to fix a flat gives me confidence to ride more often and explore farther from home, because I know, whatever happens, I can get myself home. So here is a crash course on fixing a flat with the help of the WE Bike NYC: Mujeres en Movimiento, our Spanish Language earn-a-bike program in Queens.
Como Arreglar una Rueda Pinchada!
How to Fix a Flat Tire!
por/by
WE Bike NYC: Mujeres en Movimiento
1. Encontrar las Herramientos/Find the tools
- 2 llaves de llanta — 2 Tire Levers
- Parches — Patches
- Cemento — Glue
- Lija — Sandpaper
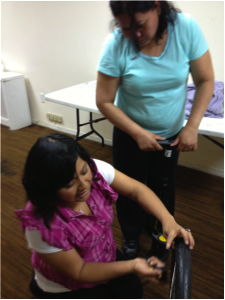
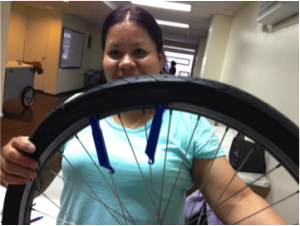
2. Sacar el aire de la cámara/Remove the air from the tire
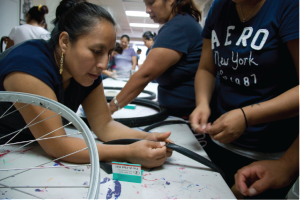
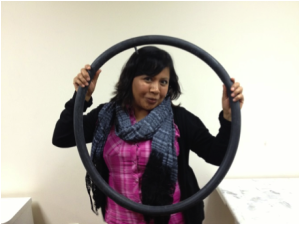
3. Remover la llanta y cámara/Remove the tire and tube
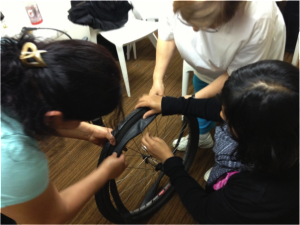
1. Primero, sacar la llanta con llave, introduciendo una extreme de la llave abajo de la llanta y otro extreme asequandolo en un rayo. First, remove the tire using the tire levers by putting on end of the lever under the tire and attaching the other end to one of the spokes. 2.b este paso tres veces hasta que se afloje la llanta y pued levantar la llanta. Repeat the first step three times until the tire loosens on the rim and you can remove it.
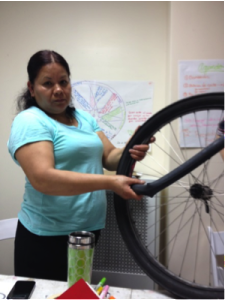
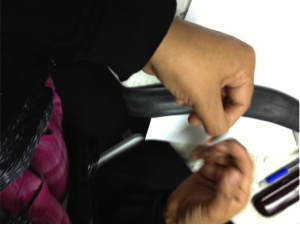
3. Remover la cámara con las manos. Remove the tube with your hands. 4. Ten cuidado de remover la valula del rin cuando sacando la cámara. Take care when you are removing the valve from the rim.
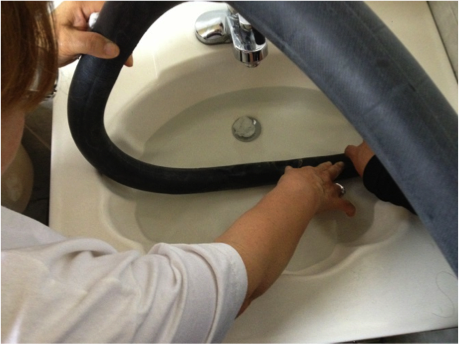
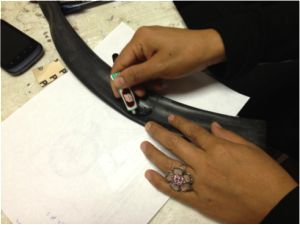
4. Identifcar el agujero usando uno de los dos métodos/
Identify the hole using one of two methods
Ponerle el aire y puede pasar la mano y sentire donde está el escape de aire. Inflate the tube and pass your hand along the outside feeling for air.
Ponerle el aire y meterlo en agua y ve donde salen las burbujas. Fill the tube with air and place it in water and look for bubble emerging from the hole.
5. Despues de encontrar el ollo/After you find the hole…

Marcar el ollo. Mark the hole. Sacar el aire. Remove air from the tire.
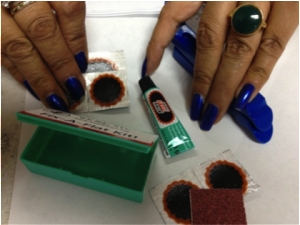
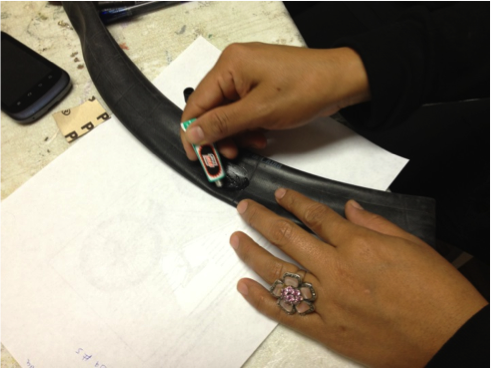
6. Preparar la cámara/Prepare the tube
1. Lijar un area sobre el ollo más grande del parche .Use the sandpaper to rough up an area around the hole slightly larger than the patch. 2. Poner el cement en en forma de circulo en un area mayor del parche. Put cement in a circle around the hole in an area slightly larger than the patch.
 3. Espera
 que el cement seque.
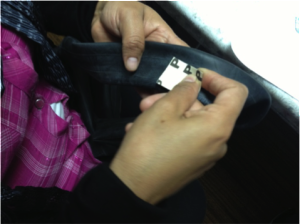
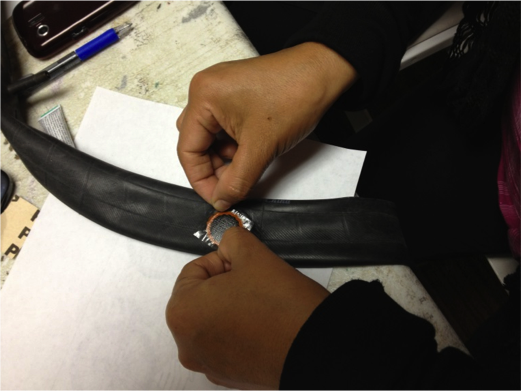
Wait until the cement dries. 7. Aplique el Parche/Put on the patch
1. Remover el parche del aluminio. Remove the patch from the aluminum backing. Pegarle del lado que está al lado aluminio. 2. Stick the side that was on the aluminum to the tube on the dried glue. 3. Esperar. Wait. 4. Cuidadosamente retirar el plastic. Carefully remove the plastic on top of the patch.
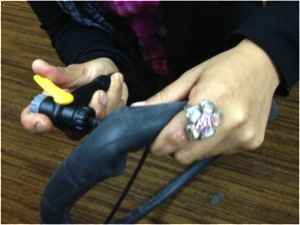
8. Re-poner la cámara y llanta/Replace the tire and tube
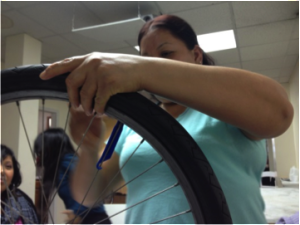
1. Meter un lado de la llanta en el rin. Place one side of the tire in the rim. 2. Poner un poco aire en la cámara para que tenga forma. Put enough air in the tube that it has a bit of shape. 3. Meter la valvula en el rin. Put the valve of the tube in the valve hole of the rim. 4. Meter la cámara en la llanta. Push the tube into the open side of the tire. 5. Meter la llanta en el rin. NO USAR LLAVES CUANDO SE COLOCAS LA CAMARA DE REGRESO A LA LLANTA. Put the other side of the tire onto the rim. NEVER USE TOOLS WHEN PUTTING A TIRE BACK ON.
9. Chequear el PSI (Libras por pulgadas cuadradas) marcado en la llanta y llenar la camara del aire. Cada llanta tiene su propio PSI./Check the PSI (Pounds per Square Inch) marked on the tire and fill the tube to that pressure. Each tire has its’ own PSI.